
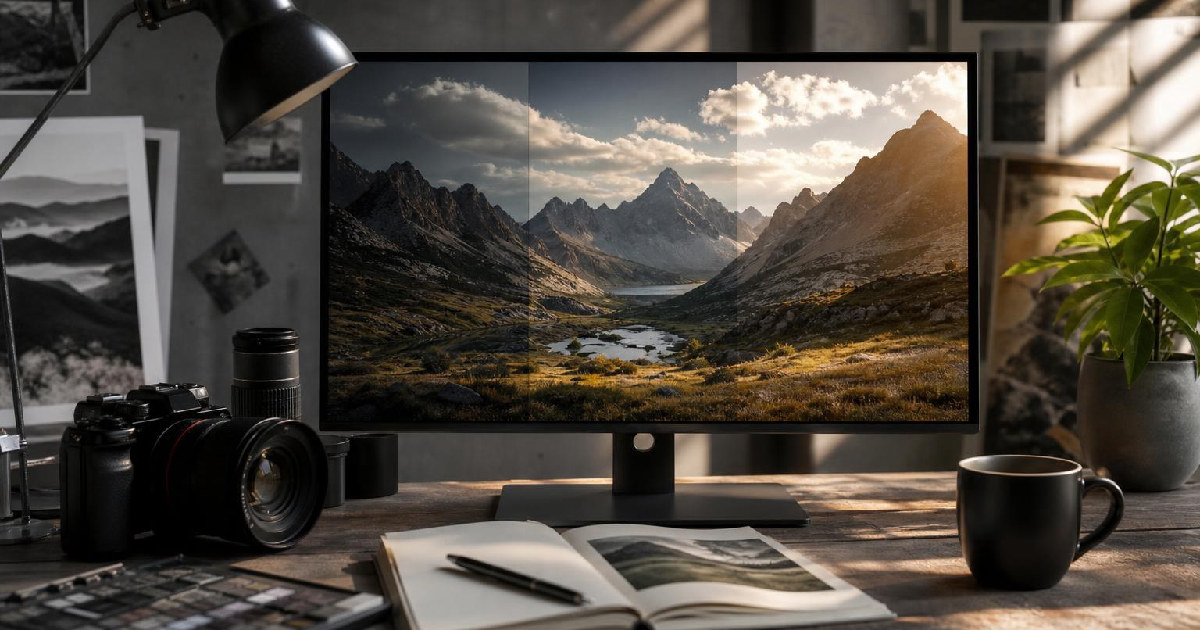
Mode breakdown
What Photoshop added in the latest update
Dansky’s quick look at Photoshop’s newest update is not about a flashy redesign or a long feature tour. It is about one specific addition that changes how quickly you can get to basic tonal edits: the new Light adjustment layer. In the video, he shows Photoshop version 27.10.0 and points to the new layer sitting alongside the other adjustment options in the lower-right panel.
The direct value is simple. Photoshop users no longer have to treat these controls as something buried inside Camera Raw before they can start shaping an image. The Light layer brings them into the regular adjustment-layer workflow, which means the tools are easier to find, easier to stack, and easier to explain.
That may sound modest, but for a lot of Photoshop work it matters. Tonal correction is often the first step in making an image feel usable. If a tool makes that step less intimidating, it can change how quickly someone gets from “this file needs work” to “I know what to do next.”
Why this matters if you avoid Curves and Levels
Dansky’s strongest point is also the most practical one: the Light adjustment layer lowers the entry barrier for beginners who are not comfortable with Curves or Levels yet. Those tools are powerful, but they ask you to think in a way that can feel abstract if you are still learning how brightness and contrast behave across an image.
He frames the new layer as a friendlier alternative for the same broad job. Instead of making users navigate a more advanced tonal system immediately, Photoshop now offers clearly labeled sliders that describe their effect in plain language. That makes the update appealing for newer editors, but it is also useful for anyone who just wants a faster route to common adjustments.
The comparison with Camera Raw is the key takeaway. Dansky notes that these sliders were previously available there, but now they are available as their own layer. In practice, that means the controls are closer to the place where many Photoshop users already think about compositing and retouching: on top of the image, in the stack, where adjustments can be revisited and combined.
What the Light sliders actually change
The video moves quickly through the controls, but the value is in how plainly they are presented. Dansky treats the Light layer as a mini crash course in tonal editing.
Exposure
Exposure affects how much light is applied to what sits under the adjustment layer. Dansky shows it as a straightforward brighten-or-darken control: push it up and the image gets lighter, pull it down and it gets darker.
Contrast
Contrast changes the separation between light and dark areas. In his example, increasing it strengthens the difference in the image, while reducing it makes the picture feel flatter or more washed out.
Highlights
Highlights target the lighter parts of the image. Dansky uses the sky in his demo to show how the control affects brighter regions without treating the rest of the image the same way.
Shadows
Shadows control the darker portions. In his example image, there is a lot of shadow detail to work with, so raising the slider reveals more information, while lowering it pushes the darker areas further into moodier territory.
Blacks and Whites
These bottom sliders control the amount of black and the amount of white in the image. Dansky does not overcomplicate that part of the explanation, and that restraint helps. The point is not to memorize a theory lesson; it is to understand that the Light layer now includes the basic tonal levers many people reach for first.
The larger pattern is that the layer gives you a tidy set of edits that are already named for the job they do. That clarity is the feature.
Where the new layer fits in a real workflow
The new Light adjustment layer is not positioned as a replacement for everything else in Photoshop. Dansky’s example actually suggests the opposite: it is best understood as a simpler front door into tonal correction, not the final word on image editing.
If you already know your way around more advanced tools, you may still prefer Curves or Levels when you need finer control. But the Light layer can be a quicker first stop, especially when you want to make broad changes without overthinking the interface. It is also useful when you want to hand off a file to someone who is still learning Photoshop and needs something more legible than a curve graph.
That is the workflow benefit the video keeps returning to. The feature does not just add another adjustment. It changes the shape of the first edit. Instead of opening a separate filter or moving into a more technical toolset immediately, you can start with a layer that names the obvious fixes: make it brighter, recover highlights, open shadows, adjust contrast, set the blacks and whites.
For a beginner, that can reduce friction. For an experienced user, it can reduce time spent hunting for the familiar sliders in a different part of the app.
The practical takeaway for Photoshop users
Dansky’s verdict is refreshingly restrained: this is a nice surprise, and it is especially handy for beginners. That seems accurate based on what he shows. The Light adjustment layer is not presented as a dramatic reinvention of Photoshop editing. It is a cleaner, more accessible way to do tonal work that many people already needed to do.
That makes the update worth paying attention to for two reasons. First, it lowers the learning curve around one of the most common categories of image correction. Second, it reinforces a useful design principle: if a tool is used often, it should be easy to reach and easy to understand.
If you are already comfortable with Camera Raw, Curves, or Levels, the new layer may feel like a convenience rather than a breakthrough. But convenience matters when it removes steps from a routine task. And if you are newer to Photoshop, this may be one of the most approachable ways the app has offered to start thinking about light, contrast, and tone.
Recommended next
Products & tools
One Mode Digital Media product and one relevant affiliate recommendation selected for this page.

Ctrl + Alt + Escape Reality
A surreal keyboard design built around the ultimate digital shortcut: “Ctrl + Alt + Escape Reality.” A glowing portal turns the Escape key into a way out for gamers, tech fans, creators, dreamers, and anyone ready to leave the ordinary screen behind.
Artlist
Music, footage and creative assets for video-first creators.