
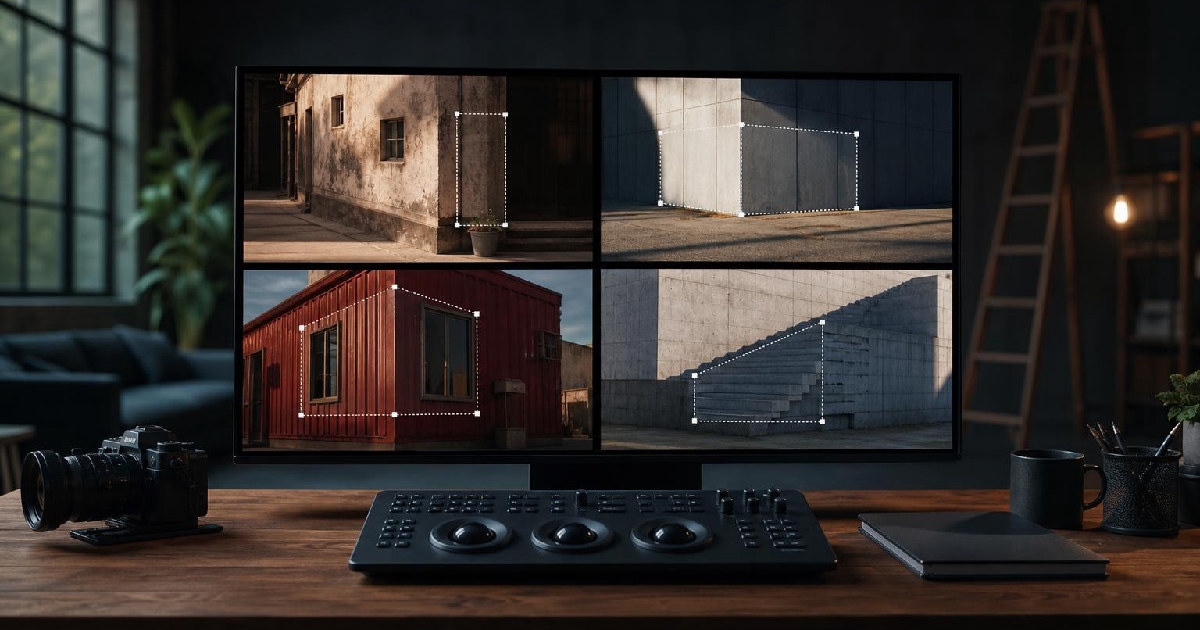
Mode breakdown
Why motion text works when the track fits the shot
Casey Faris’s tutorial on adding text to moving footage in DaVinci Resolve is less about flashy motion graphics than it is about restraint. His point is simple: if you want text to feel attached to a moving shot, you do not automatically need the most advanced tool in Fusion. You need the tool that matches the motion in front of you.
That is the real value of the video. Faris walks through four different ways to place text on moving footage, and each one solves a different problem. Sometimes a standard tracker is enough. Sometimes a planar tracker gives you the right motion without extra work. Sometimes a corner pin makes the graphic feel like it belongs on a surface. And sometimes a 3D camera track is worth the effort because the shot actually calls for it.
The practical takeaway for editors is not that Resolve can do everything. It is that a convincing result often comes from picking the least complicated approach that still follows the shot correctly.
Start with the simplest motion relationship
Faris begins with a basic tracker node in Fusion, using it to anchor text to a moving light. The logic here is straightforward: identify a distinct, high-contrast detail in the frame, track it, and then tell the tracker to match-move the graphic. That lets the text travel with the object instead of sitting statically over the image.
This is a useful starting point because it solves a common problem in creator edits, product clips, and social cutdowns. If you want a label, callout, or quick graphic to stay attached to one object, a regular tracker is often the most direct route. Faris also emphasizes choosing a good tracking point and starting from a side of the clip where the motion is easier to follow. That is less glamorous than the final effect, but it is where the time savings happen.
The larger lesson is that motion text does not have to be a design project before it becomes a tracking problem. If the goal is a readable label that seems to move with the subject, start by asking what the text needs to follow. In this case, the answer is a single object with enough visual detail to track cleanly.
When a planar tracker gives you enough depth
The second example shifts to a shot where Faris wants the text to feel like it is floating in space between parts of the scene. Instead of jumping directly to 3D tracking, he uses a planar tracker and treats a flat area of the shot as the reference.
That choice matters. A planar tracker is not trying to rebuild the whole scene. It is tracking motion across a patch of image information, which makes it a faster and often more practical option when you only need the graphic to follow a moving plane. Faris demonstrates how this can sell the illusion of depth without requiring a full 3D solve.
He also shows the workflow advantage of creating a planar transform from the track. That lets the text inherit the tracked motion while remaining easy to adjust. For editors, that is the kind of small structural decision that pays off later. You can reposition the text, change the size, or reuse the motion without rebuilding the track from scratch.
If the shot is moving, but the graphic only needs to cling to one flat region of the frame, this is often the cleaner middle ground. It is not as heavy as 3D tracking, and in many shots it gets close enough to the effect you actually want.
How to make text feel painted onto the footage
Faris’s floor example is the most useful one for anyone trying to make text feel integrated rather than pasted on. He tracks the movement of the floor, then uses a corner pin to fit the text into perspective. That alone makes the graphic feel more grounded. But he goes further by using a brightness-and-contrast adjustment as a mask source, switching the merge to use luminance instead of alpha.
The result is a graphic that picks up the texture and unevenness of the surface beneath it. In plain terms, the text starts to behave like part of the floor instead of sitting on top of it. That is a strong technique for any shot where you want a graphic to look painted, stenciled, or embedded in the environment.
This is where Faris’s advice becomes more than a tutorial. He is showing that realism in motion graphics often comes from layering small decisions: perspective, masking, and texture all working together. None of those steps is difficult on its own. The point is that the combined effect is stronger than a flat title slapped over moving footage.
For creators, this is the version of the workflow that can make a simple title look like deliberate design instead of an edit afterthought.
When the 3D track is worth the extra work
The last example goes a step further with Resolve Studio’s camera tracker. Faris is careful here: this is the more advanced option, and he notes that it belongs to the paid version of Resolve. He also makes clear that it is not the answer for every shot.
That honesty helps. A 3D camera solve can be impressive because it rebuilds camera movement and scene space well enough to place 3D text into the environment. But the reason it works here is that the shot is simple enough for the solver to handle cleanly. Faris runs an auto-track, removes weaker points, solves the shot, and then exports a 3D scene where the text can be placed in actual space.
Once the 3D text is in the scene, he adds depth, beveling, lighting, and shadows to make it feel more physical. He also adjusts the directional light to roughly match the scene’s existing light direction. The result is the most convincing version of the effect in the video, but it is also the most dependent on shot quality and tracking conditions.
That is the tradeoff. A 3D track gives you the most believable integration when it works, but it asks for more from the footage and more from the editor. Faris’s video makes the case that you should reserve it for shots that really benefit from scene reconstruction.
The useful pattern behind the whole tutorial
What makes this video valuable is not just the list of tools. It is the decision tree behind them. Faris keeps returning to the same question: what is the least complicated method that will still make the text feel attached to the shot?
That question matters because it keeps motion graphics grounded in the edit. A lot of beginners jump to the most advanced option too early. Faris’s examples argue for the opposite approach. Start with a tracker when a single object is the target. Use a planar tracker when you need motion on a flat region. Add corner pinning and luminance masking when the surface texture matters. Move to camera tracking only when the shot needs true 3D placement.
If you are learning Fusion in DaVinci Resolve, that mindset may be more useful than any single preset or shortcut. The tool does not decide the effect. The shot does.
Recommended next
Products & tools
One Mode Digital Media product and one relevant affiliate recommendation selected for this page.

Low Battery. High Expectations.
A clean low-battery design for anyone operating on 3% while the world still expects 100%. “Low Battery. High Expectations.” is a simple, relatable statement for busy creators, tech workers, students, and anyone whose energy indicator needs a charger.
LearnWorlds
Course-building and learning-platform tools for creators and businesses selling education online.