
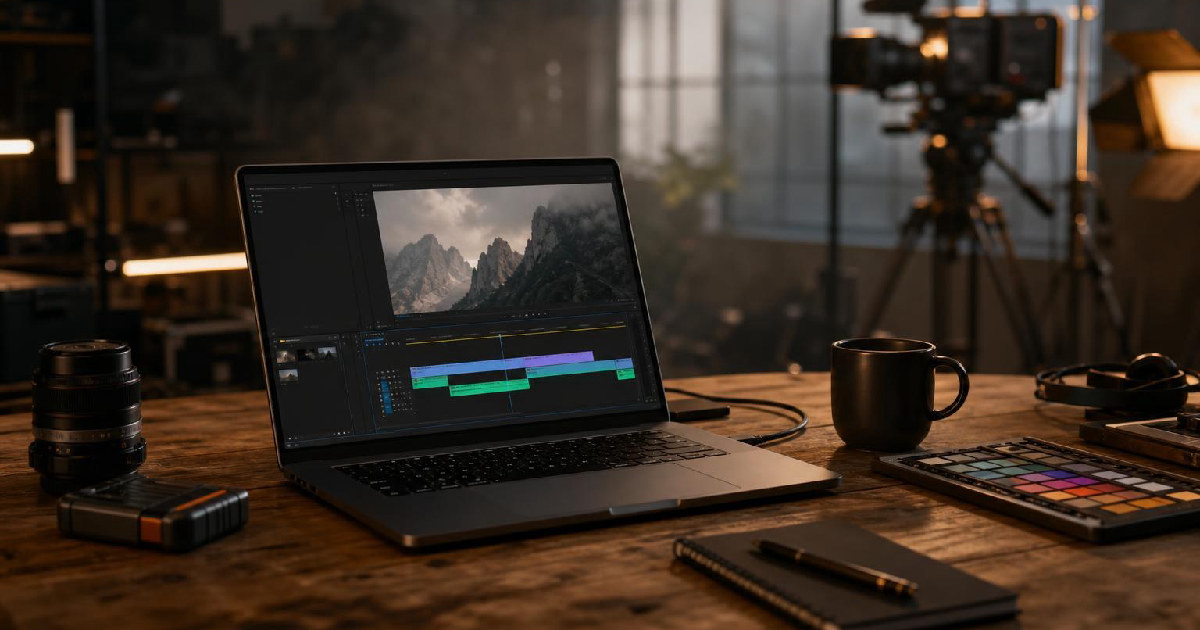
Mode breakdown
Basic Titles Are the Fastest Place to Start
Casey Faris’s walkthrough on how to add text in DaVinci Resolve is strongest when it resists turning every title into a mini visual-effects project. His opening point is straightforward: if you are just starting out, the easiest path is also the best one. Drag a basic text title into the timeline, open the Inspector, type your word, and adjust the font, size, color, and placement from there.
That may sound almost too simple, but that is exactly the lesson. A lot of editors get stuck trying to find a more advanced route before they need one. Faris argues for the opposite. If the goal is standard on-screen text over footage, the basic title tool already covers the core job. You can trim it to match the shot, change typography, and add a little stroke or drop shadow for readability. In other words, the first win is not complexity; it is speed.
He also makes a quiet but useful design point: keep early title work restrained. White text on a dark background, a subtle shadow, and a readable font already go a long way. That is a practical note for creators who want their footage to stay legible without looking overdesigned. The takeaway is not that basic titles are boring. It is that they are flexible enough to serve as a default until the shot asks for more.
Multi Text Adds Layers Without Forcing a Full Fusion Build
Once the tutorial moves past single-line titles, Faris introduces Multi Text as the next step up. This is where the video becomes especially helpful for editors who want more visual structure without jumping straight into a node-based workflow. Multi Text lets him build layered text inside one clip, then adjust those layers separately.
The main advantage is control. Instead of stacking separate title clips and juggling their timing, he can duplicate a layer, rename it, change its size, and move it independently. That makes it easier to create a headline and subheadline relationship or simply split a phrase into parts that animate differently. He also shows that the layers do not need to behave as one block. One layer can stay fixed while another moves, which gives the text a little more life without asking for a major effects setup.
What matters most here is the tradeoff. Multi Text gives you more styling and motion options than the basic title, but it still feels accessible. It is a good middle ground for editors who want a more designed look and are not ready to live inside Fusion. Faris keeps this stage subtle on purpose. The motion is small, the typography stays readable, and the result feels polished without becoming busy.
That restraint is part of the tutorial’s broader message. Good motion graphics do not need to shout to be effective. In this case, simple vertical movement and layered wording already create a more intentional title card.
Fusion Pays Off When You Want Custom Reveals and Cleaner Motion
When Faris shifts into Fusion, the tutorial changes from “how to place text” to “how to shape the behavior of text.” He is clear that Fusion is where Resolve gives you more control, and he uses that control for a title reveal that drops into view from nothing. The setup is simple enough to follow: a background, a text node, a merge, and then a mask that limits what is visible.
That node-based approach is the reason Fusion is worth learning at all. It is not just a fancier place to do the same thing. It lets you assemble a title in pieces and animate those pieces separately. Faris also demonstrates a small but effective polish move by smoothing the end of the animation so the motion eases to a stop instead of cutting off abruptly. That kind of detail is easy to miss, but it is exactly what makes an ordinary motion graphic feel finished.
For readers deciding whether Fusion is worth the extra effort, the answer depends on the shot. If you only need a title that sits over video, Fusion is overkill. If you want the text to appear with a cleaner reveal, use a mask, or behave more like a designed graphic element, it becomes the right tool. Faris does not sell it as mandatory. He shows it as the tool that earns its keep when the basic title stops being enough.
Putting Text Behind a Subject Can Be Done With a Simple Keyer
One of the more practical sections in the video is the behind-the-subject text effect. Faris uses it to place a word in the sky while keeping the person in front of it, and the method is refreshingly low-drama. Instead of relying on an advanced masking workflow, he duplicates the clip, uses Luma Keyer on the top layer, and selects the brighter sky so the text can show through underneath.
This is useful because it reframes a trick that can seem complicated. The effect works not because the software guessed perfectly, but because the shot gave him a workable contrast difference. He then refines the matte with a few cleanup controls to improve the edge. That means the real skill here is not memorizing one exotic effect. It is recognizing when a simple key can solve a layered composition problem.
For creators, that is a valuable production habit. If the background and subject separate cleanly enough, text can sit behind a person with far less effort than you might expect. You still need to judge the shot carefully, though. Faris’s method depends on the sky being easy to isolate. It is a smart shortcut, not a universal fix.
Tracking Text to a Moving Object Is Where Resolve Starts to Feel Polished
The most advanced part of the tutorial is also the most creator-friendly, because it solves a common problem: how do you make text travel with the shot instead of floating awkwardly on top of it? Faris answers that with a tracker node in Fusion. He targets a high-contrast point on a backpack, tracks the motion, switches the tracker to match move, and then attaches the text to that movement.
That is the kind of technique that can save a shot from feeling static. It gives the impression that the text belongs to the environment rather than just sitting on the screen. Faris also notes that the free version of Resolve can handle the basic tracker workflow, which makes the effect more accessible than many editors might assume.
The tradeoff is clear: tracking takes a little more setup than basic titles, and it only makes sense when the motion of the subject justifies it. But when it does, the result is a stronger match between graphic and footage. Instead of forcing the edit to stay still, the text follows the camera movement and the object’s motion naturally.
That is the broader value of Faris’s tutorial. He does not treat text as a single tool. He treats it as a set of choices. Basic titles are for speed. Multi Text is for layered control. Fusion is for custom behavior. Keying and tracking are for shots that need the graphic to interact with the image. If you keep that ladder in mind, Resolve becomes a lot less intimidating and a lot more useful.
Recommended next
Products & tools
One Mode Digital Media product and one relevant affiliate recommendation selected for this page.
Not Everything Needs an App
A clean protest-style design built around a refreshingly simple opinion: “Not Everything Needs an App.” Made for product people, developers, tech users, web fans, and anyone who would happily use a good website instead of installing one more thing.
Artlist
Music, footage and creative assets for video-first creators.