Mode breakdown
Why these Canva AI tricks save time
Design with Canva’s Jana opens with a problem almost every creator or marketer runs into: you have a design that already exists, but it is trapped in the wrong format, the wrong language, or the wrong context. Maybe it is a JPG or PNG with no editable source file. Maybe it needs to be repurposed for another campaign. Maybe you like the layout, but not enough to rebuild it by hand.
Her video is useful because it treats Canva AI as a way to reduce repetitive production work, not as a novelty. The strongest thread running through the tutorial is reuse. Instead of starting from a blank canvas, Jana keeps showing ways to recover, adapt, and refresh assets that already have value.
The direct answer is simple: the five most useful Canva AI tricks in the video are turning flat JPG or PNG files into editable designs, translating existing visuals, recreating layouts without starting over, animating flat images, and redesigning a visual with a single AI prompt.
Turning flat files into editable Canva designs
The first workflow tackles a common frustration. A design exists only as a flat image, and the editable Canva file is missing. Jana shows how to upload a JPG or PNG into Canva, open it in a new design, and use Magic Layers to separate the visual into editable parts.
The value here is not just convenience. It changes the life cycle of a design. A one-off graphic can become a reusable asset with editable text, movable elements, and changed details. In Jana’s example, text such as an anniversary line or a location name can be adjusted after the image is converted.
That matters most for people who inherit files from someone else, lose access to an old project, or need to update a post that was originally exported as an image. The tradeoff is also clear in her walkthrough: this is a recovery and adaptation tool, not a perfect substitute for a native source file. It gets you much closer to editable territory, but you still need to check the result and make the final adjustments yourself.
Jana also pauses to point out that some Canva AI tools sit behind paid-plan limits. She notes that Magic Layers is in Canva’s premium AI category, which makes the workflow useful but not something to assume is unlimited on every account.
Translating visuals and reusing layouts
The second and third tricks are really about repurposing. First, Jana shows how to translate an uploaded JPG or PNG design inside Canva. She finds the translation option in the resize menu under Magic Switch, then selects a target language and an optional tone, and chooses whether to translate the design in place or create a copy.
For creators who publish across regions, this is the kind of feature that saves time in ways that are easy to overlook. It is not only a translation step. It preserves the visual structure of the original piece, which means you are adapting a design system rather than rebuilding it as a separate asset.
She also demonstrates a workflow for recreating a useful layout without starting from scratch. In her case, she uses a screenshot-style mockup and turns it into something editable with Magic Layers. That lets her move elements, swap in a new logo, and repurpose the structure for a different post.
This is one of the most practical parts of the tutorial because it reflects how many teams actually work: they do not always need a brand-new idea. Often they need the same idea in a different format, for a different post, or with a few updated details. Jana’s approach suggests that Canva AI is strongest when the goal is variation, not reinvention.
Adding motion to a static image
The fourth trick changes the feel of an asset without changing its core content. Jana takes a flat image that has already been converted into editable pieces and applies animation effects to individual text boxes and, in some cases, to the page itself.
Her caution here is important. Once Magic Layers has split the image into separate visual parts, animating the full page can make the result feel awkward. She prefers to animate selected text boxes instead, which keeps the motion from fighting with the structure of the original design.
That is a useful design judgment, not just a tutorial step. It shows that AI-assisted workflows still benefit from human restraint. If the asset already has a lot going on, adding motion everywhere can make it look less polished. Using animation selectively keeps the result readable.
For social content, this offers a fast way to make an older static post feel fresh enough for reuse. It is especially relevant when you want movement but do not want to build a whole animated scene from scratch.
Using one prompt to reshape an existing design
The final workflow is the most open-ended. Jana opens Canva AI and asks it to give an existing design Halloween vibes. Canva then edits the visual into a new style while keeping the elements movable.
What stands out here is not just that the prompt works. It is that she starts from something already in progress: a design that was previously a flat image, then made editable, then reimagined by AI. That layered approach is a good summary of the whole tutorial. Canva AI is being used as a revision engine.
Jana’s example shows both the upside and the limit of prompt-based redesign. The upside is speed. She gets a themed version of the design without building it manually. The limit is that you still need judgment about whether the result fits the job. A prompt can steer the look, but it does not replace a designer’s taste or the need to clean up details afterward.
That makes this trick most valuable for campaign pivots, seasonal updates, and quick content variations. If you need a fast first pass, it can get you there. If you need a final brand-critical asset, you will probably still want to refine it.
When these workflows are worth using
The best thing about Jana’s tutorial is its narrow focus. These are not abstract AI experiments. They are specific shortcuts for common production headaches: missing source files, multilingual variants, mockup reuse, lightweight motion, and redesigning existing work.
If you already build content in Canva, the lesson is not to chase every AI feature. It is to identify the moments where you are doing repetitive repair work and ask whether Canva can do the first pass faster. That is where these tools seem most useful.
For creators, small teams, and marketers, the real gain is not just speed. It is flexibility. A design that would normally be locked in one format can be edited, translated, restyled, and reused in a few different directions before you commit to a final version.
Recommended next
Products & tools
One Mode Digital Media product and one relevant affiliate recommendation selected for this page.
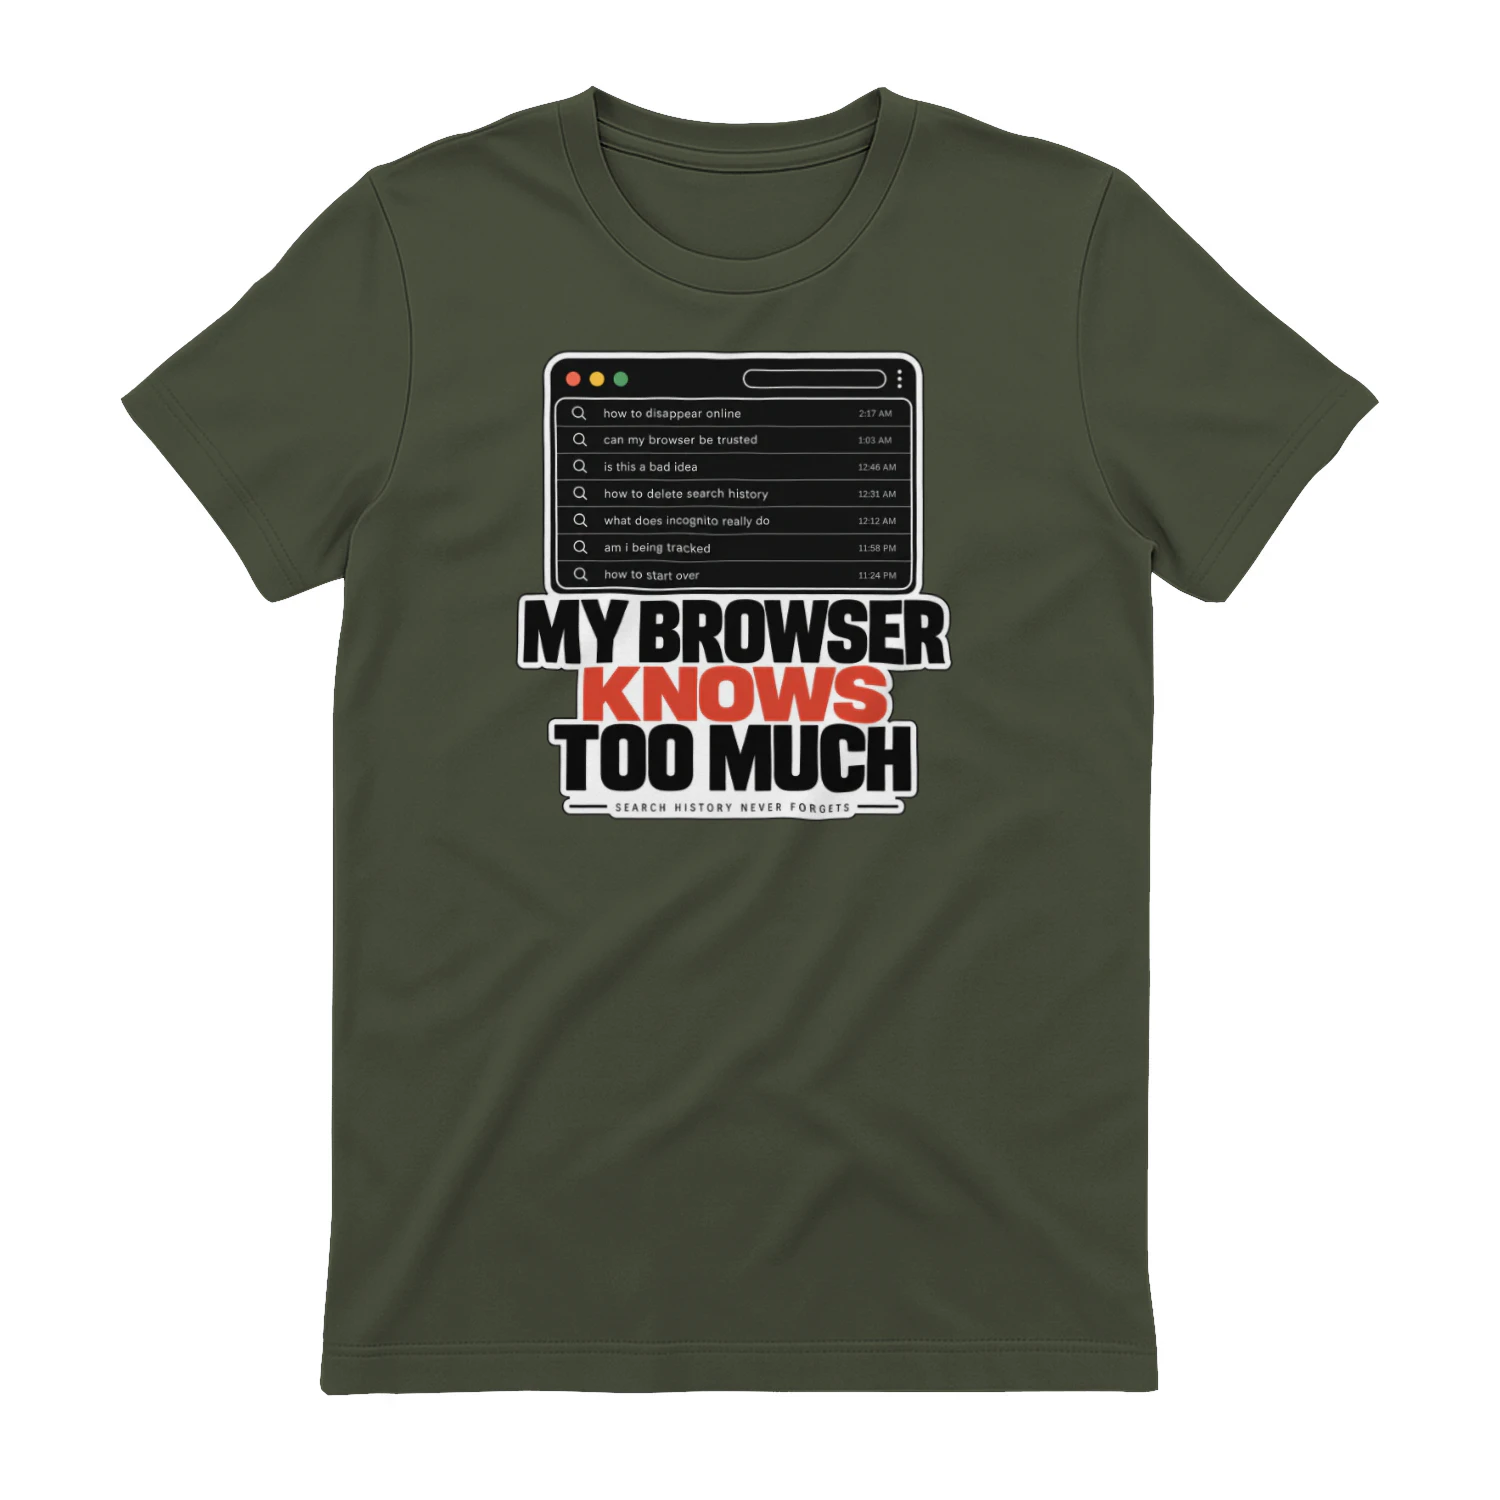
My Browser Knows Too Much
A clean browser-history design built around the uncomfortable truth that your browser may know you a little too well. Equal parts privacy joke and internet-culture commentary, it’s made for heavy web users, tech fans, researchers, and curious minds.
Artlist
Music, footage and creative assets for video-first creators.